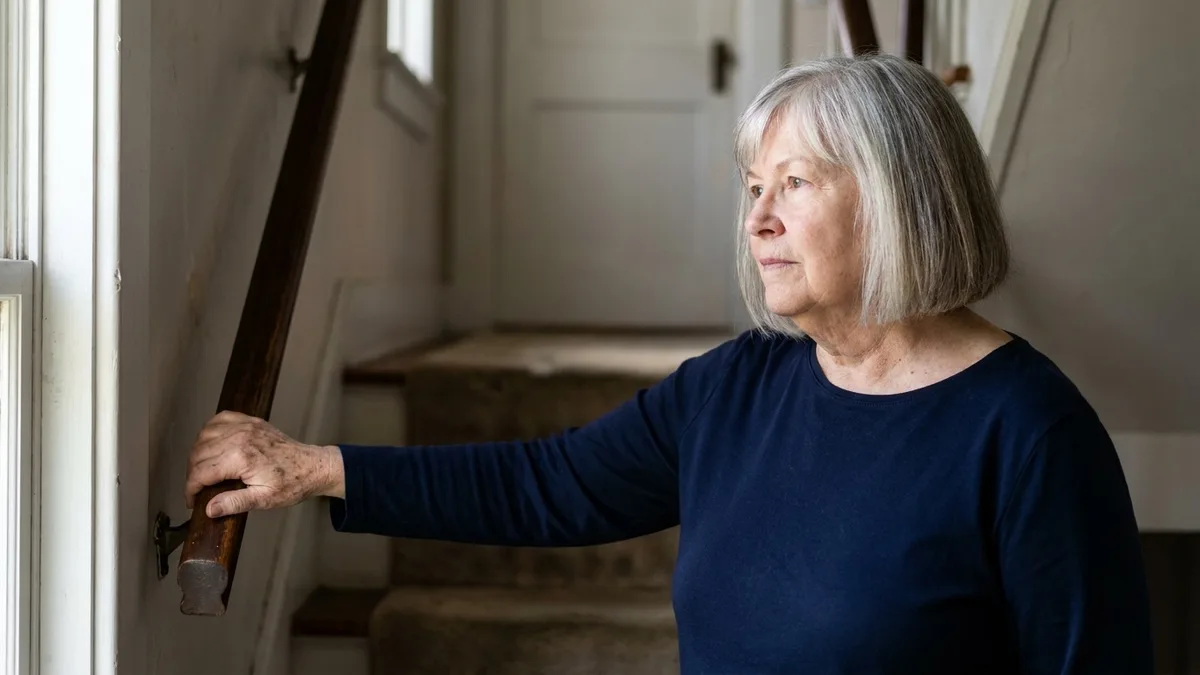
This page leaves you with two repairs to schedule this weekend and a price for each of the other ten, so nothing on the list sits undone for another year.
Balance fails at a handful of exact spots in a house, and they are the same spots in almost every house. Stepping over a tub wall onto wet tile with nothing fixed to hold. Rising from a low toilet seat with a hand on a towel bar. Coming down stairs at 2 a.m. toward a switch the hand cannot find.
Pinpoint those spots and the work stops being a vague worry about the house. It becomes a short, priced list you can hand to a handyman one Saturday at a time, and the first two jobs on it take a single visit between them.
Quick Tips Before You Start
Test, Don't Look
A railing or bar is only as good as its fasteners, so pull hard with your weight before you trust it.
Height Matters
Grab bars and handrails sit at set heights for a reason: 33-36 inches for bars, 34-38 inches above the tread nose.
Book One Visit
Batch two or three repairs into one handyman call at $50-$100 an hour instead of paying a trip charge four times.
No Ladders, No Drills Aloft
Anything above the reach of both feet flat on the floor is a handyman job, not a weekend project.
Work Bedroom Outward
Fix the night path first, then the bathroom, then the stairs, then the doors and the outdoors.
1. Grab Bars in the Tub and by the Toilet
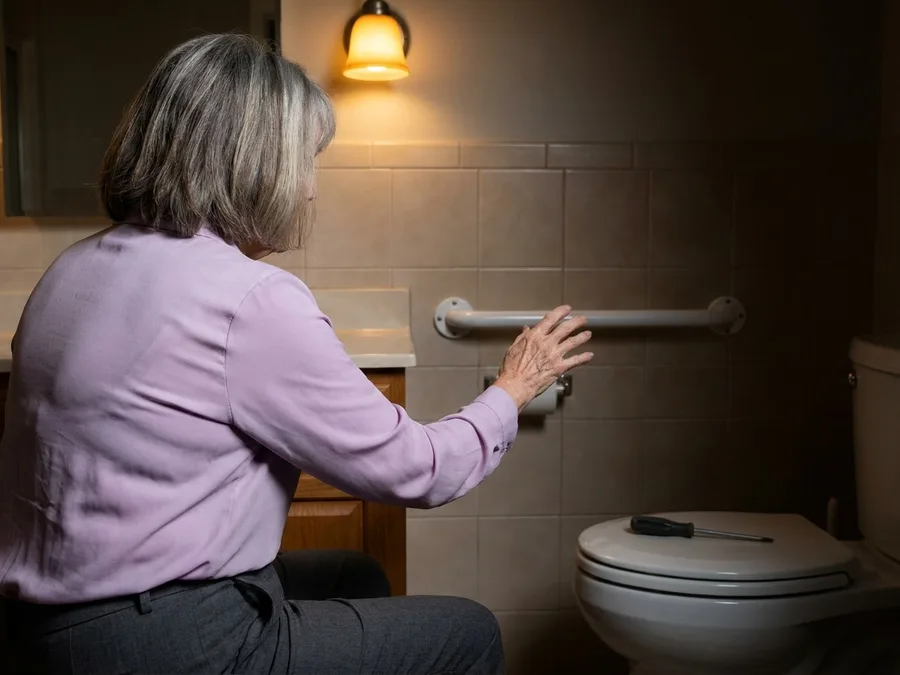
The moment balance goes in a bathroom is almost always the same moment: one foot lifts over the tub wall and the other lands on wet tile. The second is rising off a low toilet seat, when the body has to lean forward and push up with nothing at hand height to grab.
Look at what the hand reaches for first. It is the towel bar screwed into drywall, the shower curtain rod, the tile soap dish set in the wall. None of these is an anchor. Every one of them pulls loose exactly when the weight arrives, which is why the recovery you picture is a bar coming away in your hand.
The fix is a bar mounted to something that does not give. Put one inside the tub at 33 to 36 inches high, right where the step-in happens. Put the second on the wall beside the toilet at the same height, so the hand finds it at the start of the rise rather than halfway up.
Fasten into studs whenever a stud lines up behind the bar. Where none does, toggle bolts through the tile hold far better than the short screws that come in the box and pull out under a body's weight.
Plan on $150 to $300 per bar installed. Two bars is a 2 to 4 hour handyman visit, and at $50 to $100 an hour that is the whole cost of the repair most likely to catch you.
This is the anchor at its plainest. It is the one repair on the list where a hand finds something fixed at the exact instant balance goes, and it is why a bathroom bar belongs at the top.
💡 Tip: Wet the bar and pull down on it with both hands before you cross the job off. Grab bars are rated for 250 pounds or more; the fasteners are the weak point, not the bar.
| Repair | Typical cost | Who to call |
|---|---|---|
| Grab bars (tub + toilet) | $150-$300 per bar installed | Handyman or bathroom installer |
| Stair handrail repair | $100-$250 | Handyman or carpenter |
| New second stair rail | $200-$500 | Carpenter |
| Non-slip rug pads | $10-$30 per rug | No one – do it yourself |
| Motion-sensor nightlights | $15-$40 each | No one – plug-in or battery |
| Hallway light upgrade | $75-$200 installed | Electrician |
| Loose threshold repair | $50-$150 | Handyman |
| Shower bench + handheld head | $40-$150 bench, $30-$100 head | Handyman or plumber |
| Raised toilet seat | $30-$80 | No one – it bolts on |
| Worn stair tread | $20-$50 per tread | Carpenter |
| Porch and deck railing fix | $150-$400 | Handyman or deck builder |
| Outdoor step handrail | $150-$400 | Handyman or carpenter |
2. Fix the Handrail on Every Staircase
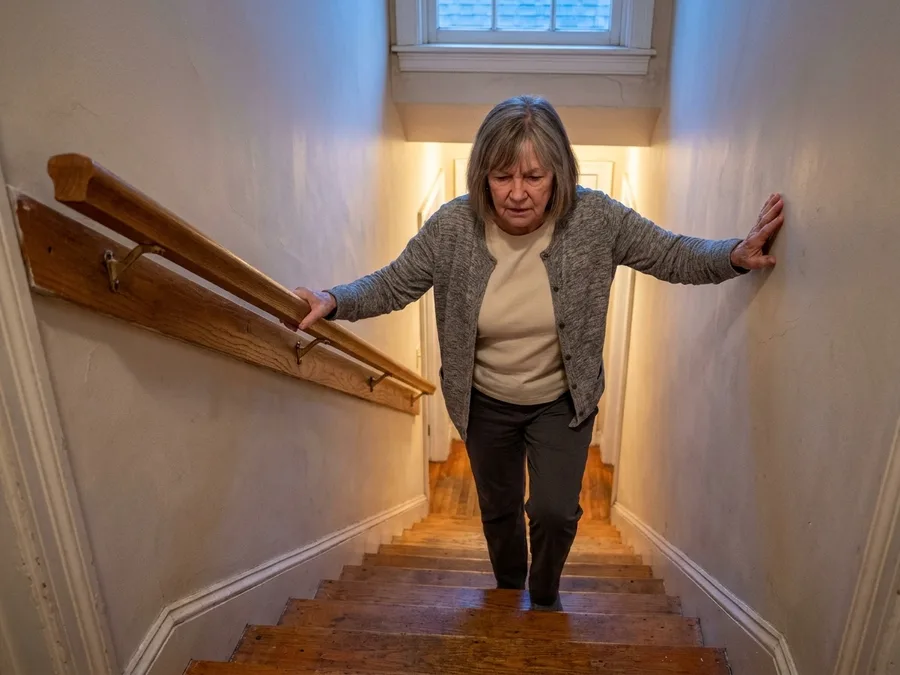
A grab bar keeps a hand steady when the body turns on wet tile. A staircase asks more of the same hand: it has to carry weight while the feet are still moving.
That is the difference that matters. On stairs, the pull comes down through the arm while the body is already descending, and every one of those pulls works at the brackets holding the rail to the wall.
Start with a hard pull at three points, top, middle and bottom, putting your weight into it. Ten seconds tells you whether the anchor holds or wiggles.
Movement at a bracket means the lag bolts have loosened in the wood, and a rail that has shifted once will keep shifting until someone tightens it.
Tightening the bolts, or adding a rail on a daily staircase that has none, runs $100-$250. A brand-new rail across a 36-inch stair falls in the $200-$500 range.
Height is settled: 34-38 inches measured above the tread nose to the top of the rail. Hold a tape at the nose of any step and see where your hand naturally falls.
A rail that shifts when grabbed teaches the hand to stop trusting it. By the third step down, the hand skips the rail entirely, and the anchor is there but nobody is holding it.
This is the one hold in the house that takes the full weight of a moving body, which is exactly why a wobble here accounts for more stair falls than any other fault.
💡 PRO TIP
Both Rails Get the Pull Test
A light shake proves nothing. Put your weight behind it at the top, the middle and the bottom of every rail in the house, indoors and out. The rail that fails is almost never the one you expected – it is the one nobody leans on until they have to.
3. Put Non-Slip Pads Under Every Loose Rug
A rail catches you when a hand is free and close enough to reach. On flat ground nothing is handed to you, and the floor itself is what lets you go.
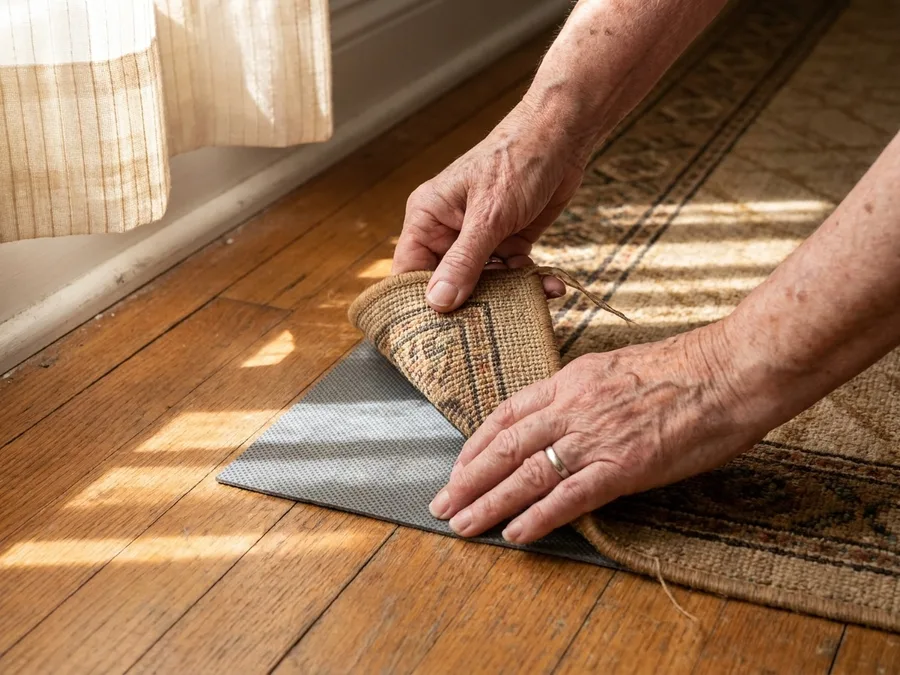
Set a foot on the edge of a loose rug and push sideways. If the rug skids, the standing leg goes with it, and the fall is sideways and without warning.
The fix is the cheapest on the whole list: a non-slip pad or double-sided tape under all four edges, $10-$30 per rug.
Look at the edges rather than the corners, because a pad that has crept inward over a year leaves two sides free to curl. Lift each edge with your toe and see whether it comes up.
One rug earns removal, not a pad. A rug at the top of a staircase comes out entirely, since nothing you put underneath makes one safe at the edge of a drop.
This is a repair that takes a hazard out of the path rather than adding something to grip along it, and on a hard floor there is no substitute for just lifting the thing that slides.
At a Glance
4. Add Motion-Sensor Nightlights on the Night Path

Each unit runs $15 to $40. The plug-in kinds take a wall outlet, the battery kinds mount anywhere with two screws or a strip of tape, and neither needs an electrician or a new wire fished through a wall.
Buy the ones with a warm, low output rather than a bright white beam. At 2 a.m. a full-brightness light jolts you awake and makes it harder to settle back down, which is the whole reason you were up in the first place.
Skip the bright overhead and light the floor. A dim path at ankle height is enough to see the edge of the rug and the stair nose, and your eyes stay half-adapted for the trip back.
💡 Tip: Choose warm-white plug-ins, not daylight blue. A 3000K light at 2 a.m. is easier on your eyes and far less likely to leave you lying awake after the trip.
5. Repair Loose Thresholds and Uneven Floor Transitions
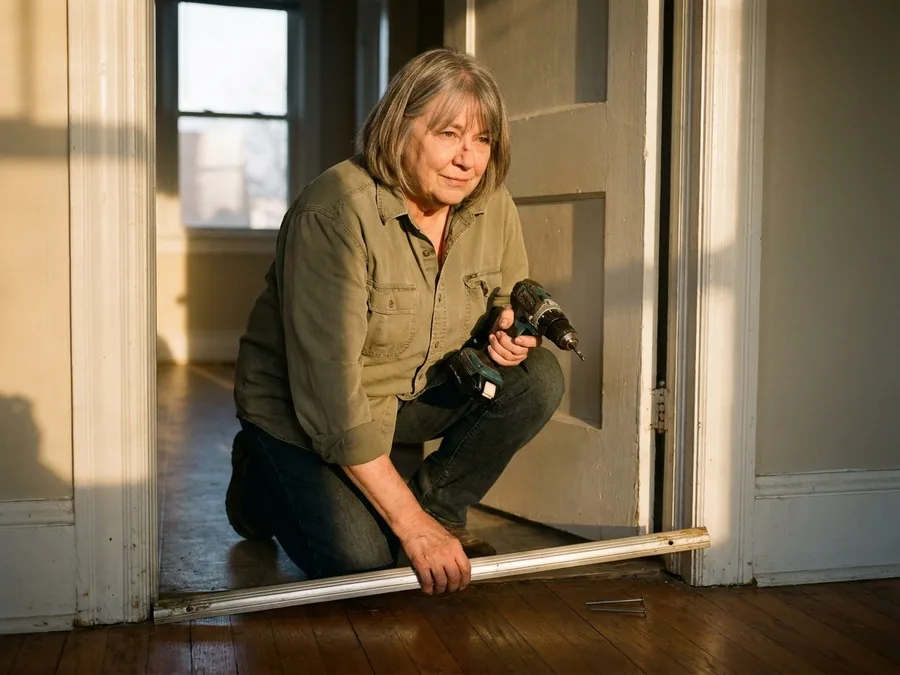
Plan $50 to $150 for the work. A handyman at $50 to $100 an hour clears most of the thresholds in the house in a single visit, since each is a matter of minutes once the strip or the ramp is in hand.
This is the simplest of the catch removals. Nothing new to grip, no bar in the wall, just the small edge taken out of the path your feet walk most.
What Two Grab Bars Actually Cost
Prices are typical US installed costs; a stud-backed wall needs no toggle bolts and lands at the low end.
6. Install a Shower Bench and Handheld Showerhead

Mount it with drill-fastened hardware, never a suction-cup seat. Suction grips dry porcelain fine and lets go the instant the tile is wet and soapy, which is exactly the moment you are relying on it.
A handheld showerhead finishes the job, at $30 to $100. Held in one hand, it lets you rinse sitting down, so the hair and the soapy spots all get handled without rising to reach the fixed spray.
The bench itself runs $40 to $150, which makes this the one repair on the list that deletes the risky minute rather than bracing against it. There is no balance to hold because there is no standing, and the shower goes back to being just a shower.
Shower Bench Setup – At a Glance
💰 Cost
$40-$150 bench
🔧 Mount
Drill-mounted, into studs
🚿 Head
Handheld, $30-$100
📐 Placement
Opposite the drain
🚫 Skip
Suction-cup seats
⏱️ Results In
Safe from day one
Why It Works
The fall risk is standing on wet tile with lifted feet, so the bench takes the standing out of the routine entirely.
7. Replace the Toilet Seat With a Raised, Secure Model
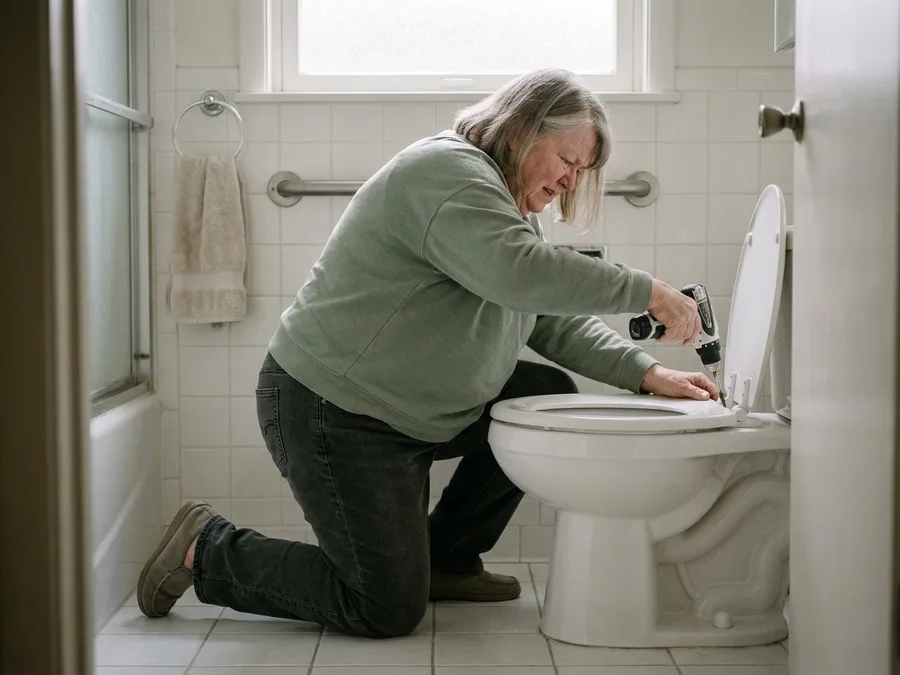
The bathroom bench solves the sitting-down half of the morning. The standing-up half happens at the toilet, and it happens far more often than the shower does.
Count it honestly: six, eight, ten times a day, out of a chair height that was built for a taller body decades ago. The movement never gets easier with repetition.
A standard toilet puts the seat roughly 15 inches off the floor, which turns every rise into a slow squat with nothing fixed in front of you to pull against. The knees travel forward, the torso folds, and the whole thing is done on trust.
Watch what the seat itself does while that happens. Most original seats are held by two bolts that have quietly loosened over years, so the ring rocks a half inch left or right just as the hips push up, adding a twist to a movement already asking a lot.
This is the cheapest repair in the bathroom that changes the mechanics rather than bracing them. A raised seat runs $30 to $80, and a lock-down model with fresh bolts is a 20-minute job with a screwdriver or a wrench.
What you are shopping for is comfort height: 17 to 19 inches measured from the floor to the top of the seat, which is close to what a standard dining chair gives you. That two to four inches is the difference between a squat and a partial stand.
Skip the loose cushion toppers that sit on top of the existing ring. They slide, they soak up moisture, and they defeat the point, which is a surface that does not move under a rising body.
The lock-down bolts matter as much as the height. Check them with a hand every few months, because the same sideways give that made the old seat feel uncertain will come back the moment they work loose.
There is one more piece to finish the corner. A grab bar on the wall beside the toilet, mounted at 33 to 36 inches high, gives the hand something fixed to pull against at the exact moment the hips leave the seat, which is where balance is most vulnerable.
Height and a hold, in the same square of floor you use a dozen times a day. The bench took the standing out of the shower; the raised seat takes the deep squat out of everything else.
💡 Tip: Sit down, then push up with only one hand on the new bar. If you feel your body wanting the counter, the seat is still too low or the bar is too far forward.
8. Repair Worn Stair Treads and Loose Carpet

The bathroom and the floors are handled. The stairs still hold a set of problems no handrail can fix, because on a stair the failure often starts under the foot, not at the hand.
Run a palm along every tread nose, top to bottom. You are feeling for two things: a nose worn through to bare wood or soft fiber, and carpet that has lifted or curled at the edge of a step.
Either one is a catch. A curled lip of carpet grips the toe on the way down while the body keeps traveling, and on a stair that catch does not end in a stumble on the flat – it starts a fall down the whole flight. This is where a caught toe costs the most, and it is why the surface deserves the same attention as the rail.
The fixes are cheap. Press the curled carpet back at the nose and staple it down with several staples, working the fabric tight so no lip stands up. A tread worn through gets replaced at $20 to $50 per tread, and on a staircase of a dozen steps you are usually dealing with one or two, not all of them.
Then make the edges show. A strip of contrast tape along the front of each tread lets the eye pick up the edge of every step without hunting for it, which matters most on the descent in low light or in a shadowed stairwell.
A hand on a solid rail and a toe on a sound, visible tread are two different jobs. This one belongs to the foot.
A Quick Fixed vs Caught Check
Give a Hand Something Fixed
- Tub and toilet grab bars at 33-36 inches
- Stair rails at 34-38 inches, top, middle and bottom
- Second rail on wide or open stairs
- Outdoor deck and step rails after the pull test
Remove What Catches a Foot
- Loose rugs, and any rug at the top of stairs
- Lifted thresholds and half-inch floor drops
- Worn tread noses and curled stair carpet
- Uneven outdoor step heights
9. Add a Second Handrail on Wide or Open Stairs

A sound tread surface settles what happens under the foot. What is left is whether one hand is enough, and the answer depends on the width of the staircase.
Measure the stair. If it is wider than 36 inches, or if one side is open with a railing down to the floor below, the second hand reaches into air on the way down. With a single rail the body rotates toward it, the shoulders tip, and the outside foot ends up carrying the balance alone.
That is a lot to ask of one leg on a descent, in the half-second when a step lands wrong.
A second rail runs $200 to $500, and it should match the first at 34 to 38 inches above the tread nose, so both hands meet the same height. A rail at a different height pulls the shoulders out of line, which defeats the point.
Test both with a hard pull, weight behind it, at the top, the middle and the bottom. Not a light shake – a real pull, because the second rail takes its heaviest load on the descent, when more of your weight drops onto it than the first rail ever sees.
Two anchors hold the shoulders square over the feet. That is the difference between a stumble caught and a stumble carried down the flight.
How Fast the House Gets Safer
One repair per weekend keeps each visit small and under a single handyman minimum.
10. Tighten the Porch and Deck Railings
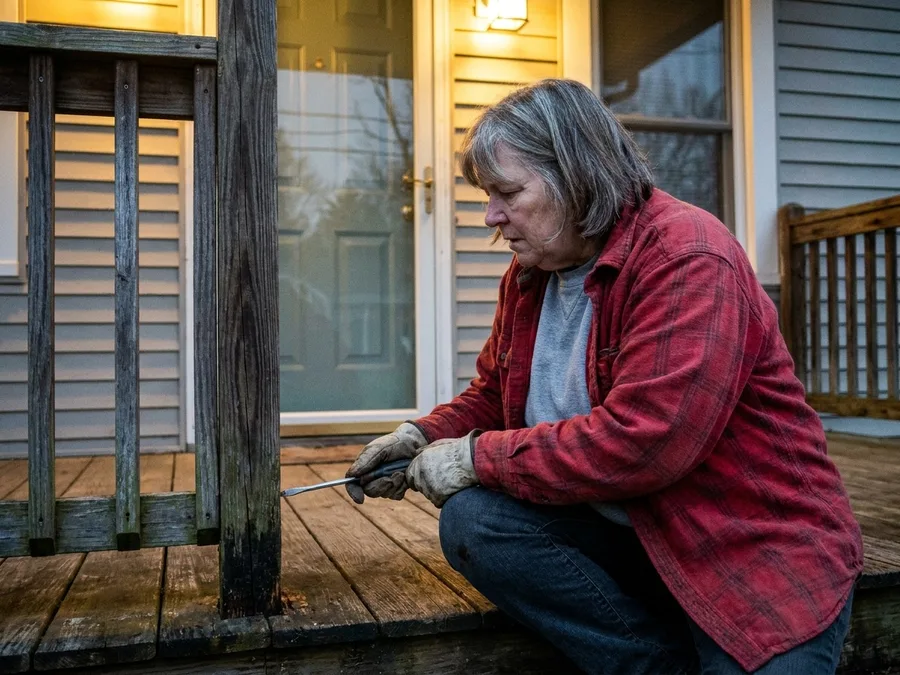
Outdoor wood ages from the inside. A porch post can look painted and sound and be hollow two inches up from the deck board, where the rain sits and the grain stays wet.
That is why the pull test matters more here than it does indoors. Grip each railing at the top, the middle and the bottom and pull hard, with your weight behind the pull, not a polite shake.
Movement means the fasteners have let go. So does a dull give, a softness, a post that leans back a quarter inch when you let go.
Take a screwdriver to the base of every post and probe the wood. If the tip sinks in easy, the post is gone inside and no amount of tightening will bring it back.
Tighten what holds, replace the bolts that have rusted through, and replace any post that gives. A repair like this runs $150 to $400, usually a weekend's work for a handyman at $50 to $100 an hour.
Here is the honest part about outdoor railings. A rail that held all last winter can fail this one, because the rot keeps working under the paint whether or not anyone pulls on it.
So the test isn't a one-time fix. It is a thing to do each fall, the same way you check the furnace filter, before the ice arrives and the railing becomes the thing your hand counts on.
A railing that wobbles under the hand teaches the hand to skip it, and the hand that skips the railing is the hand that isn't there when the porch board is slick.
Same anchor logic as a stair rail, said plainly: the fixing has to be dead solid or it is not used. Outdoors the weather is against every fastener, so the margin for a loose bracket is smaller, not larger.
💡 Tip: Do the probe test in spring, not fall. Rot gets a full summer of wet and dry cycles to work into the base of the posts before you catch it.
11. Apply Non-Slip Strips to the Tub and Shower Floor
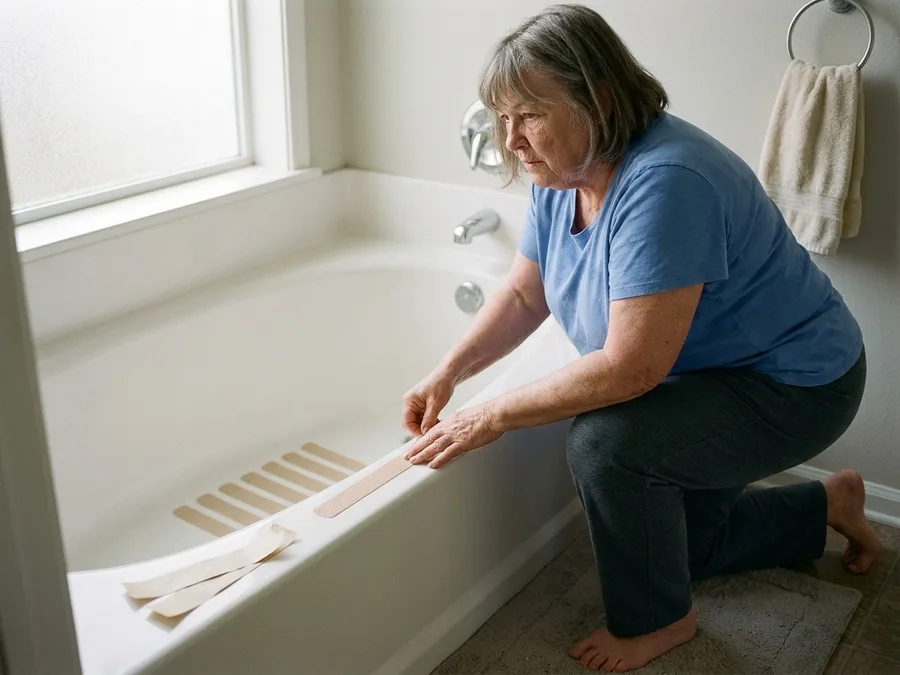
A railing outdoors is the hand's anchor. The surface under that foot is a separate problem, and it does not wait for a repairman.
Porcelain and fiberglass are smooth to begin with. Add soap and the tub floor turns into wet glass, and it is the first thing a bare foot meets in the morning with the full weight of the body behind it. The heel lands, then the toes, and by then the slide has started.
The fix costs less than a takeout dinner. Strips or a rubber mat run $10-$30, and that is the whole bill.
Clean the floor first, and dry it longer than feels necessary. Any film of soap or body oil left behind and the adhesive lets go at the corners inside a week, curling up like a dry leaf. Peel it off, wipe the floor with rubbing alcohol, let it dry, and lay the new piece.
Replace strips or a mat once the surface wears smooth under a thumb. Worn rubber grips like a wet countertop.
What you are buying here is grip underfoot, not a hold for the hand. The two fail separately. Someone can have a solid grip on a bar and still have both feet leave the floor, and someone with good footing can still lose balance reaching for a towel. Strips plus a mount into studs together cover the whole wet-tile moment, and neither covers it alone.
12. Fix Outdoor Step Railings and Add a Handrail
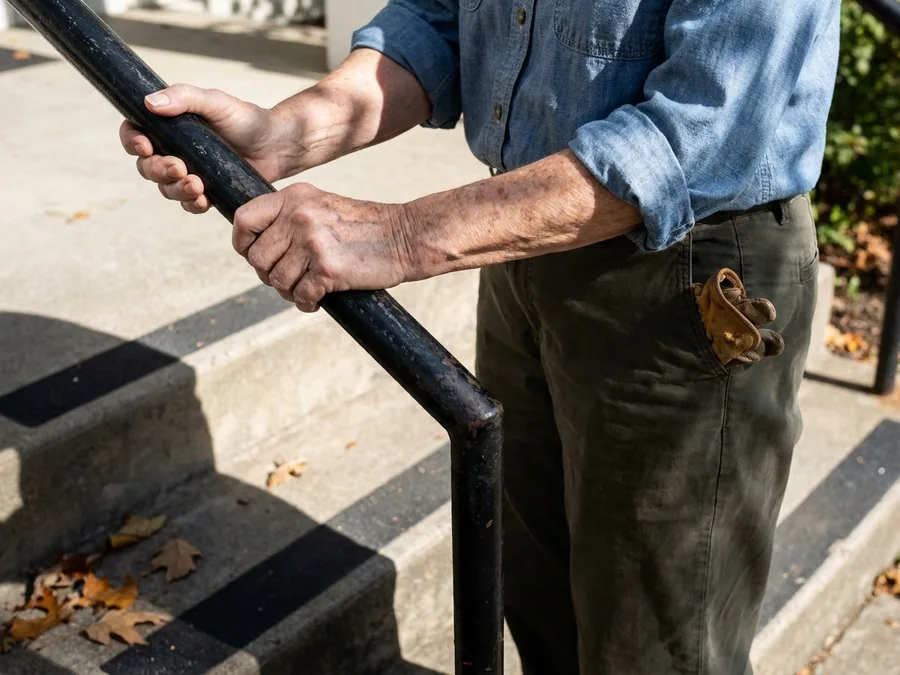
The circuit that matters runs from the bed to the bathroom, from the bedroom to the stairs, and from the stairs to the front door. The last stretch is outdoors, at the step the house is left and entered on every single day, and it is often the one step in the whole run with no rail at all.
Start by testing height. Walk the outdoor steps slowly and notice where the foot lands higher or lower than it expects, because a board sitting a half inch proud of the one before it is enough to catch a toe, especially coming in with grocery bags on both arms and your eyes on the door. Push down on each board with a foot: any give means it is loose or rotting underneath.
Then pull on whatever rail is there, hard, with your weight behind it. Outdoor wood rots from the inside at the posts, so a post that looks sound can be hollow by midsummer. Probe the base with a screwdriver and let the wood tell you.
If there is no rail, add one on at least one side of the step run. Repair and rail together run $150-$400, and the same hard pull confirms the new work before you trust it.
Contrast tape on the edge of each step costs almost nothing and earns its keep. A weathered board and a shadow look identical at dusk, and the tape gives the edge a hard line the eye finds without hunting for it.
That is the last anchor and the last catch removed. The circuit closes: a hold for the hand at the tub, at the toilet, on the stairs, and now at the door, with every surface the foot crosses made to stay put.
Frequently Asked Questions
Which repair should I do first if I can only afford one?
The tub grab bar. It is the single highest-value repair on the list, because it puts a fixed hold at the exact instant a body shifts weight onto one leg over wet tile. At $150-$300 installed, it is also cheaper than the new stair rail and does more for the closest miss.
Can a towel bar or shower curtain rod work instead of a grab bar?
No. Both are designed for drying towels, not for holding a body, and both pull out of drywall or tile at a fraction of the load a stumbling arm puts on them. A towel bar is often the first thing a hand grabs, which is why it needs to be replaced with something rated for 250 pounds or more.
How do I know if my stair handrail is loose enough to fix?
Grip it and pull hard with your body weight at the top, middle and bottom of the run. Any movement at the bracket means the fasteners have worked loose. Tighten them, or size up to a longer lag bolt if the hole is widened – $100-$250 for the repair.
Are motion-sensor nightlights worth it, or will the switch work?
A switch requires a reach-and-pivot in the dark, which is itself a balance shift. A motion sensor turns the light on before the foot lands instead of after. At $15-$40 per light, they are the cheapest fix on the list after rug pads, and they cover the path from bed to bathroom.
Should I hire a handyman or do these myself?
Anything that needs drilling into tile, working above the reach of both feet flat on the floor, or testing under load is a handyman job at $50-$100 an hour, typically 2-4 hours for most of them. Rugs, nightlights, and raised toilet seats are safe to do yourself.
What about a stairlift or a walk-in tub?
Neither is on this list, and that is deliberate. A $3,000-$6,000 installation is a much bigger decision than the repairs here, and the grab bars, stair rails and tread fixes remove most of the risk at a fraction of the cost. If you are genuinely considering one, that is a conversation to have with an occupational therapist, not a catalog.
Book Two Visits This Week, Then One a Weekend After
Start this weekend with the bathroom: a grab bar inside the tub and one beside the toilet. Add the main stair handrail the same week. That first bar is the single highest-value repair on the list, because it is the only fixed hold at the exact moment balance goes. Then work the cost table one repair per weekend and the other ten are done inside three months, without one large bill.
Go back to the towel bar over the tub. It pulled out of the drywall and cost nothing and held nothing. A bar into studs runs $150 to $300, and that is the difference between a caught stumble and a fall. Every repair here is a weekend job; the fall it prevents is not.
You now know the two repairs to book this weekend and what the other ten cost. Call the handyman about the tub and toilet bars today, before a near-miss is the thing that schedules them for you.
Schedule the Bathroom Bars This Weekend
Open the cost table above and pick the two start-weekend repairs, tub and toilet grab bars plus the stair handrail. Then put one more on the calendar for every weekend after.